Process
How we restore old photographs, step by step
From a print sitting in a box to a file in your inbox. Here is the whole process, including what is worth doing on your side before you upload anything.
- 01
Prepare the scan
This is the only step you have to do yourself. The quality of what you send has a big effect on the result, so if you have access to a scanner, use it.
A flatbed scanner is best. It keeps more detail and avoids the glare and distortion that phone photos tend to add.
No scanner? That is fine too. A copy shop or photo lab can scan the print for you. A phone photo works as well — just lay the print flat, ideally by a window, skip the flash, and hold the phone parallel to it.
Settings that will do
- 600 dpi – for most ordinary prints
- 1200 dpi – for small photographs, if you want to keep as much detail as possible
- Maximum-quality JPG – plenty; use TIFF instead if your scanner offers it
- Turn off automatic scanner corrections – especially sharpening, dust removal and colour correction
- Photograph torn into pieces? Lay all the fragments side by side and scan them together, in one pass. It makes reconstructing the original layout much easier for us.
- 02
Choose what you want to do with it
On the home page you pick one of six options.
Six options
- Restore – we remove scratches, creases, stains and other damage.
- Colorize – we add colour to a black-and-white photo.
- Restore + colorize – we fix the damage first, then add colour.
- Animate – give the portrait a subtle motion.
- Avatar – build an avatar from your photo.
- Remove background – quickly separate a person or object from its background.
- 03
Upload the file
You drag the photograph into the browser window or pick it from your drive. We accept JPG, PNG and WebP. Oversized files are shrunk on our side, so there is nothing to work out before sending.
You also give an email address — that is where the finished file and the download link go. No account, no password.
- 04
Wait a few minutes
Once you send the photo, we get to work on it. It usually takes a few minutes. Animation can take a little longer, since the result is a finished video rather than a single image.
No need to wait at your computer. You can close the page — we will email you once the file is ready.
- 05
See the result
Once the work is done, you can see the finished photo right away. We use specialized AI models matched to the specific kind of work — different tools handle damage removal, colorization, or animation best.
AI does not work like a "fix it" button, though. It rebuilds missing parts and improves the image based on the detail that survived in the original — so the result always depends on the quality and condition of what you sent us.
You can download the finished file directly from the page. You will also get the download link by email.
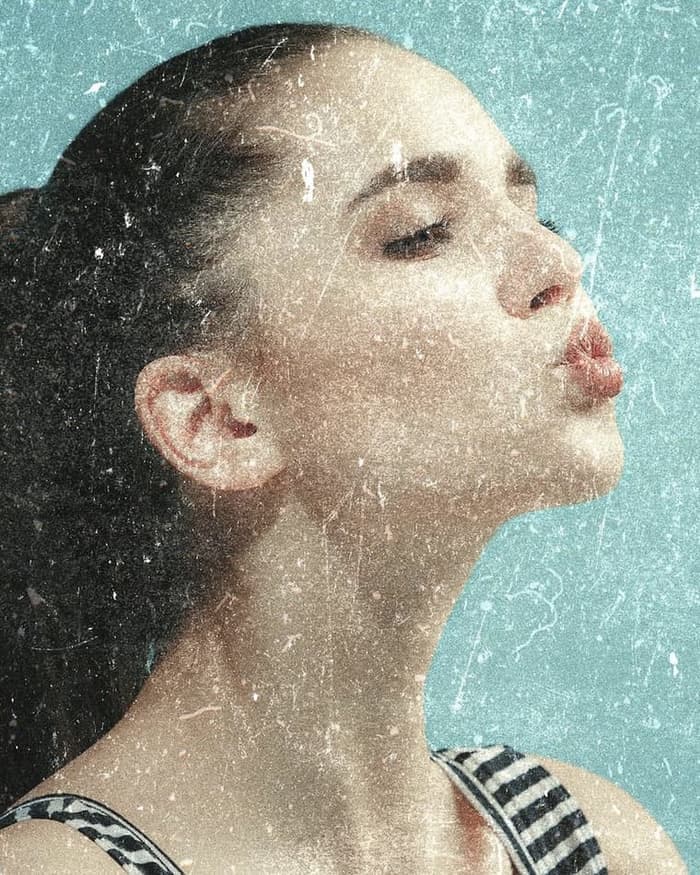
Before
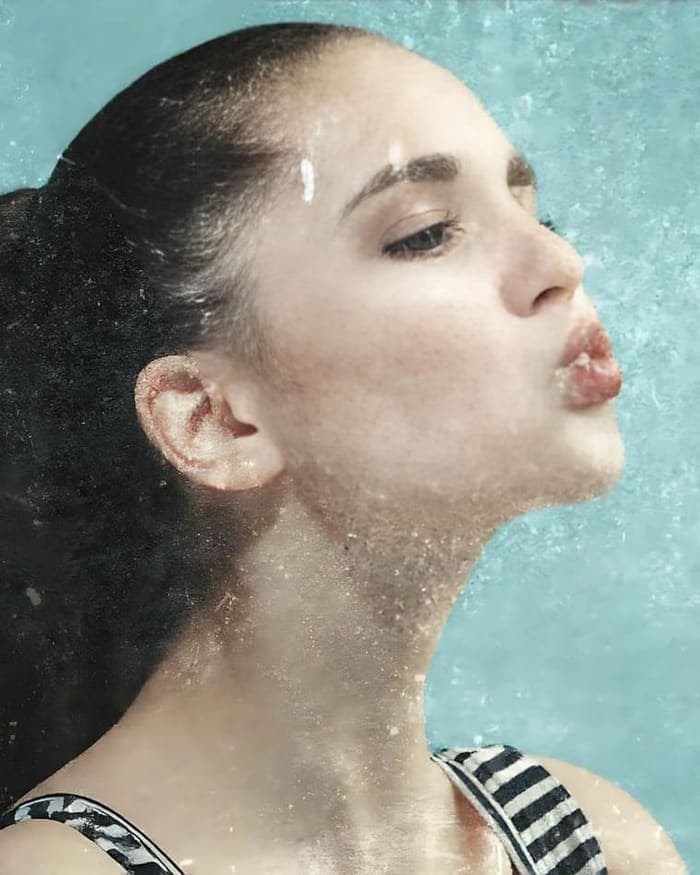
After
What happens to your file
Your photograph is used for your job and nothing else. It never enters a training set, and we show it to nobody but you.
The original and the result are deleted automatically after 7 days. The same deadline applies to the download link, so if the file matters to you, save it straight away.
Payments are handled by an external provider. We never see or store your card details.
Try it on one photograph
One file is enough to see what to expect from the rest of the box.